Tuesday, June 30, 2020

You Can Toucan

I have a new finish to share with you featuring Tropical Jammin' by Black Lamb for Figo Fabrics. This is my original design, and you're welcome to test drive the pattern for me so long as you let me know if you come across any issues, and don't gripe. Also, I'd love it if you share on social media, and/or email me because I love show & tell.


I chose quilting to highlight each section. For the wings, I chose feathers, naturally!


I went with pebbles for the area around the eye, a reasonably-sized section for such as time-consuming texture.


The main body portion was done in a radiating curve that looks floral.


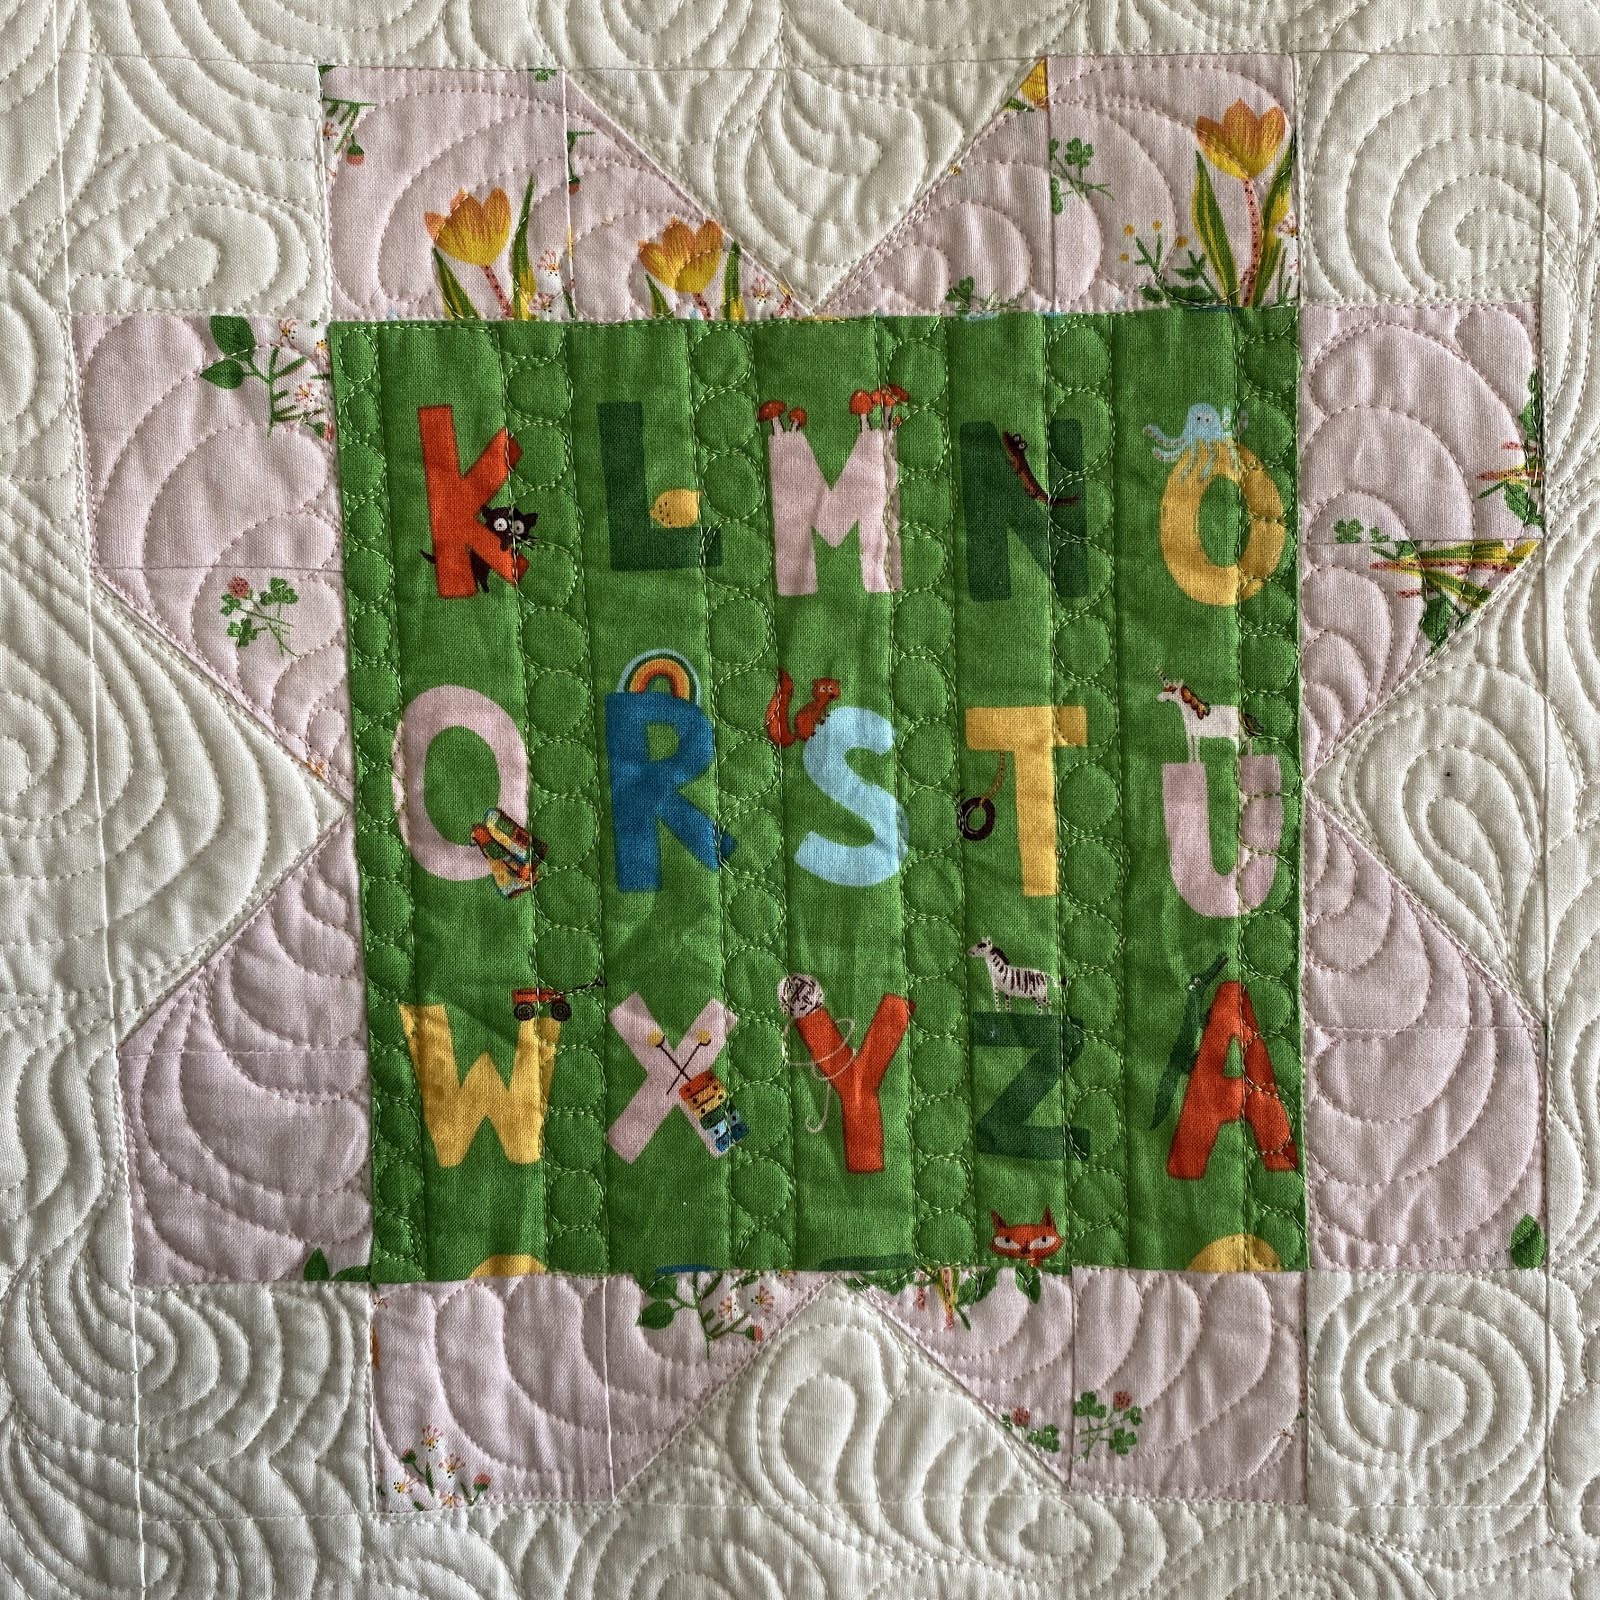
The background is mostly leaves done as paisleys with pointed tips.


On the bed, in the natural daylight, you can see the texture better.


I also tried out Swan Amity Gloves (courtesy of the company). They are well-constructed with quality materials including micro-suede. Compared to other brands, they don't go as far down the wrists, which made me feel a little exposed for no good reason. Showing a little lower arm doesn't exactly count as scantily clad. The tab has hook and loop fasteners, though I felt like the tab would more naturally wrap around at a diagonal angle, rather than wanting to align in the straight across position. Two fingers are cut out, which makes me feel even more insecure about my nakedness. The intention is to provide "tactile sensation". Rather than relying on rubberized fingertips to grip, there's a leather, elevated cushion in the middle of the palm for gripping. If you are accustomed to applying pressure with your palms, these gloves are well-suited. The fingertips are designed to be compatible with touch screens, which is nice. However, you will still need to take them off for threading. The seams inside the gloves fall where the nail meets the finger, so some fabric bulk is positioned just underneath the wearer's fingernails. The gloves feature breathable fabric, but may be warmer than other gloves designed specifically for quilting due to the micro-suede on the reverse side.


What are your favorite quilting gloves or gripping device for free-motion? Thanks for dropping in!

I'm linking up with MCM.

Teacher Quilt: Binding

There is plentiful information about quilt blocks and tops online, in magazines, and in books. Poor binding, however, gets the short end of the stick when it comes to air time. I'm guilt of this too. Most often I neglect to mention the binding at all, or if I do, I might give fabric details. That's pretty much it. Today I thought I'd show you a few pointers as to my method. Also, I'm better at pinning than I am act productivity, so I do have a Pinterest board on the topic of binding.


First off, I use a Frixion pen to mark 45 degree angle lines on one end of each 2 1/2" strip. 


As a side note, these pens are not originally intended for fabric, and will leave a shadow of original markings even after heat has been applied. If the material gets cold, you may find a complete reappearance. Don't use them to mark quilting designs on the top of your quilt. View a cautionary illustration below. For purposes such as marking binding joins, though, I like them a lot.


Then I join the strips, stitching a hair closer to right side of the line (nearest the outer corner) so that pressing results in a smooth line. I press open and trim to 1/4". You can see the Diagonal Seam Tape pictured, which I highly recommend for aligning pieces such as these. I mist with starch and press the binding in half . Then I stitch it to the back of the quilt 3/8" from the edge if I will be machine stitching the other side. I stitch it to the front, if I intend to hand stitch the other side of the binding. I start in the middle of a side, leaving a tail to attach to the other end.


Still a bit remiss, I didn't photograph going around a corner. I did a post a long while ago, and I'm changed my technique a bit, but this portion remains the same if you want to check it out. As for connecting the two ends, the overlap should measure the width of your binding (2 1/2"). I fold the end of the top side at a 45 degree angle facing toward the quilt top. I lay the other end inside as it naturally falls.


I fold the top strip back over and since the middle two layers with my fingers, pulling outward gently. 


I stitch on the diagonal crease. Then I pull the binding into place to asses if my sizing was correct. 


If so, I cut the seam allowance to 1/4".


I refold the binding and lay it back in place. Then I stitch the gap closed.

Monday, June 29, 2020

FYI: June 2020

For the Love of Geese has a Log Cabin Tree of Life Quilt Along starting August 1. 


If you're in the mood for a quilt along, check out Cora's Quilts. It's a treasure trove of options.


Sharon Holland also has a wealth of well-written sew alongs.


If you have trouble getting motivated to finish, rather than just starting all the things, try One Monthly Goal.


Piecing the Past Quilts has a free Summer Sampler, but you'll want to sign up right away so you don't miss any blocks.


Cheryl will soon be releasing her next Mystery Quilt, Morewood. Check out the past years too. Each and every one will make you wish you'd join along.

Meadow Mist Designs  

Follow #quiltblockmania for free monthly blocks following a theme and color palette. I'll be sharing a block for "Summer Fun" July, so stayed tuned.

Follow on Bloglovin

Teacher's Quilt: Quilting

Today I bring you a closer look at the quilting on the Teacher's Quilt.


For the block below, I used back and forth lines for the outside and to fill the continuous curve orange peels. Check out the videos below for each of these designs.


For this block I used S-curves on the outside and an echoed line of swirls for the square.


I created straight lines to divide the square and filled alternating columns with pebbles for the following block. The outside sections were filled with feathers.


I added some straight lines using a ruler foot. (For my domestic Bernina, only the medium or low shank Westalee feet fit using the adapter foot. Bernina now makes a specific ruler foot for their domestic machines.) Back and forth lines filled alternating squares of the middle.


The following block employs ruler work, ribbon candy, and a continuous curve design.


For the next block, I brought out the S-curve, straight lines, and more ribbon candy.


I went all out with a ruler work arch, rectangular pebbles, and a diagonal grid with alternating back and forth fills for the square. For the outside units, I did a feather variation.


Marking some straight lines helped me to divide sections in the square, which I filled with a wishbone design and C-curves. The outside employed ribbon candy.


I broke down the square into sections and added loops and feathers. The outside sections have moose-antler feathers.


The fun frogs got a treatment of straight line ruler work and C-curves. I did an echo for the outer shapes.


I drew in some Flying Geese and then did a Dot-to-Dot design filled with back and forth lines. Pebbles surround the inner triangles. The outer portions got some alternating larger and small loops. 


I'm all about Aurifil and it's generously-filled spools of many, many colors. To coordinate with Heather Ross's Kinder collection for Windham, I used Dusty Orange (1154), Lavender (1243), Medium Orange (5009), Pale Pink (2410), Shining Green (5017), Emerald (2865), Yellow (2135), Golden Honey (2214), and Light Turquoise (5006) in 50 and 40 wt.


I'm linking up with MCM.

Follow on Bloglovin